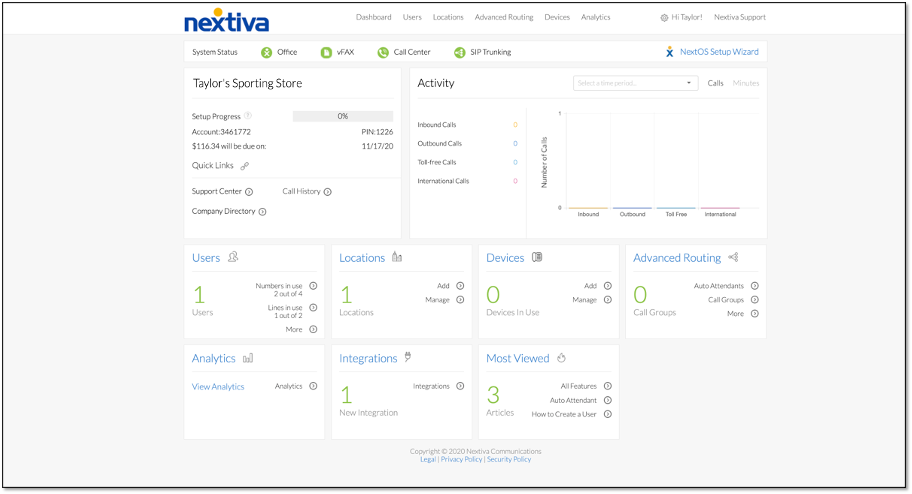
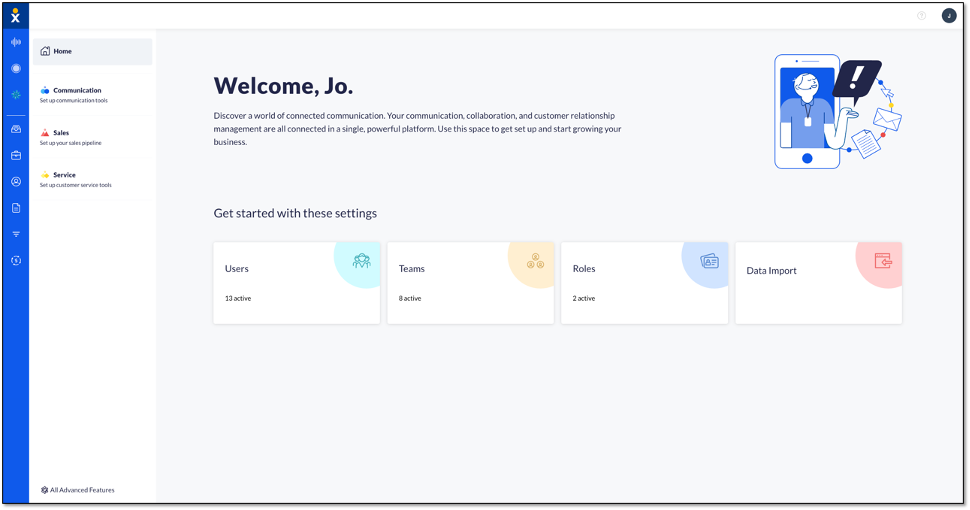
Choose the image that looks most like your screen once logged in.
 |
 |
- Click Add Holiday and choose from the list of federal holidays available. You can also add specific dates (January 1) or custom dates based on occurrence (e.g., the fourth Thursday of November).
- Choose to make it an all-day event, or specify an event time. You can also select the number of years the holiday will occur. For example, selecting “one” means the holiday will occur once and not repeat.
- From the administrator home page, select Users > Actions > Voice Setup > Business Hours.
- Under Holidays, you can select from the observed holiday menu for when the business is closed. You can also add specified dates or custom dates, with specific times, if the business is not closed all day.
Adding holidays to location schedules
- From the administrator home page, select Communication > Phone System > Voice Overview > Manage Locations > Action > Voice Settings > Business Hours.
- Under Holidays, you can select from the observed holiday menu for when the business is closed. You can also add specified dates or custom dates, with specific times, if the business is not closed all day.
Adding holidays
1. Create a holiday schedule
From the Nextiva Voice Admin Dashboard, hover over the username in the top-right corner and select My Account > Schedules > Create Schedule.
Enter the schedule name, select Holiday for the type of schedule, and choose the level of availability.
-
- Enterprise: Anyone in the enterprise can use this schedule.
- Location: Only the specified Location(s) can use this schedule. Select the desired location(s) from the Location drop-down list.
- User: Only the specified User(s) can use this schedule. Select the desired User(s) from the User drop-down list.
Click Plus (+) under Events and create new events to follow the following > Save > Finish.
https://www.nextiva.com/support/wp-content/uploads/sites/3/2019/10/creatingholidayschedule.gif
2. Assign a holiday schedule
Choose one of the options below for step-by-step instructions.
Assigning a holiday schedule to auto attendants
From the Nextiva Voice Admin Dashboard, hover over Advanced Routing > Auto Attendants. Under Manage Auto Attendants, select the location.
Hover over the auto-attendant and click the pencil to the right. Select the Holiday Schedule from the drop-down list > Save.
Assigning a holiday schedule to hunt groups
From the Nextiva Voice Admin Dashboard, hover over Advanced Routing > Call Groups.
Hover over the desired hunt group and click the Pencil icon > Forwarding > Call Forward Selective. In the Default Forward Number field, enter the phone number to which incoming calls should be forwarded.
Click Save > Call Forward Selective > Plus (+) icon at the bottom-right corner to add selective criteria detailed below > Save Criteria.
- Forward to: Select Specified Number and enter the Forward Number. To send a call to voicemail, enter *55 and the extension of the voicemail box, with no spaces in-between (e.g. *551000 for the voicemail box of extension 1000).
- Holiday Schedule: Select the holiday schedule during which calls will be forwarded. The holiday schedule has priority over the regular schedule.
- Any Phone Number: Select this radio button to forward all incoming calls, during the time specified in the holiday schedule.
Assigning a holiday schedule to call centers
From the Nextiva Voice Admin Dashboard, hover over Advanced Routing > Call Center Locations > Log In. Once the Configuration Portal launches in a new tab, select Call Center > Call Centers > Edit.
Click Routing Policies > Holiday Service > set up the below settings > OK or Apply.
- Action:
- None: Standard routing policies apply.
- Perform busy treatment: Performs standard busy treatment for holiday service calls if the holiday service schedule is active.
- Transfer to phone number / SIP-URI: Transfers holiday service calls if the holiday service schedule is active.
- Holiday Schedule: Select the holiday schedule during which calls will be forwarded.
- Play announcement before holiday service action: Play a custom greeting to the caller.
- Audio: Choose either the Default Nextiva announcement, an audio file located online using the URL, or you can select a custom greeting. Announcements are played in the order they are uploaded. For information on uploading announcements, click here.