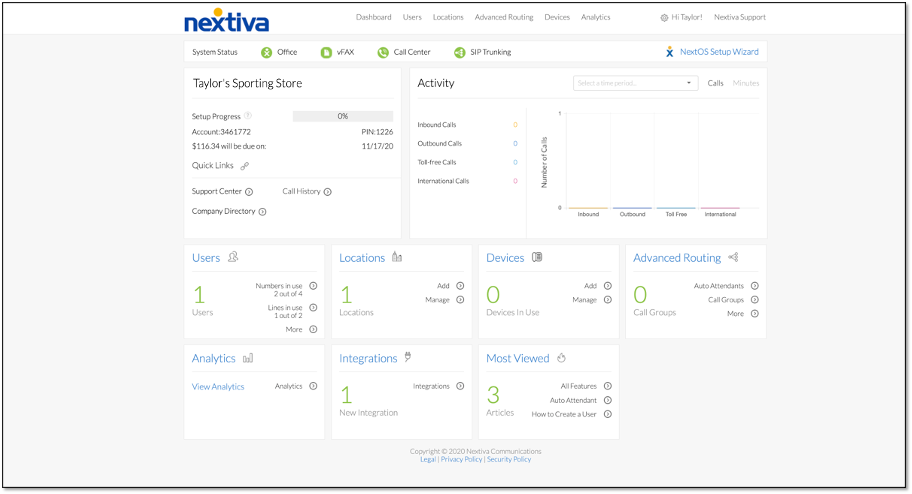
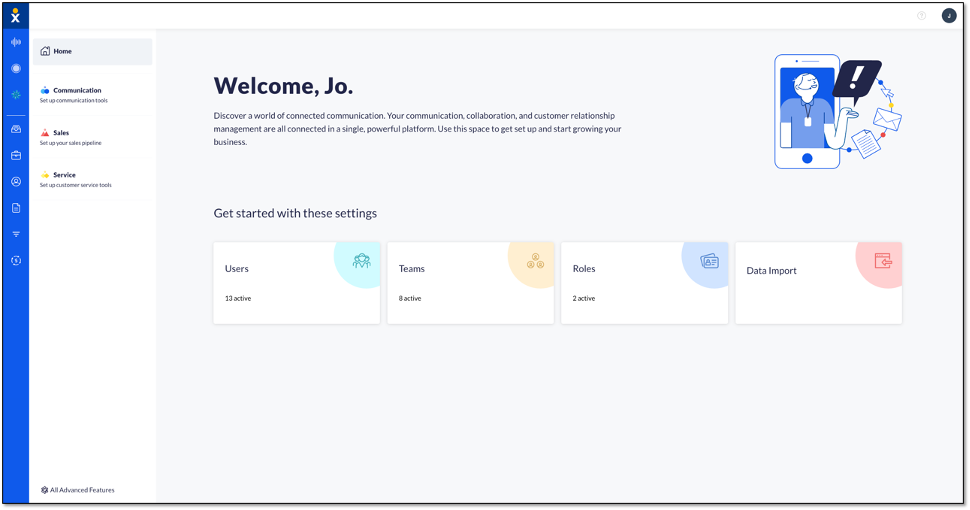
Choose the image that looks most like your screen once logged in.
Instant Group Call allows Administrators to instantly start a conference call and automatically dial up to 20 numbers or extensions.
Follow These Steps:
-
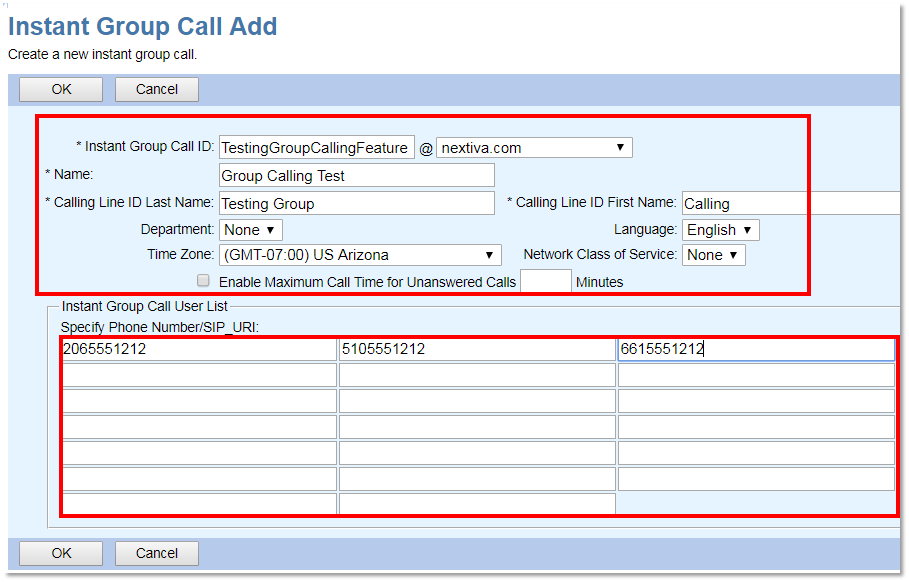
- From the Nextiva Voice Admin Dashboard, hover over Advanced Routing and select Call Center Locations > Log In. Once the Configuration Portal launches in a new tab, select Services on the left menu. Select Instant Group Call under the Advanced column. Click Add and enter the required information below, and click OK to save the group.
- Instant Group Call ID: A unique ID for the group.
- Name: A name for the group.
- Calling ID Last Name / First Name: What will be shown on the caller ID when the call is received.
- Specify Phone Number/SIP URI: The phone numbers or extensions to include in the group.
- From the Nextiva Voice Admin Dashboard, hover over Advanced Routing and select Call Center Locations > Log In. Once the Configuration Portal launches in a new tab, select Services on the left menu. Select Instant Group Call under the Advanced column. Click Add and enter the required information below, and click OK to save the group.
Instant Group Call Configuration
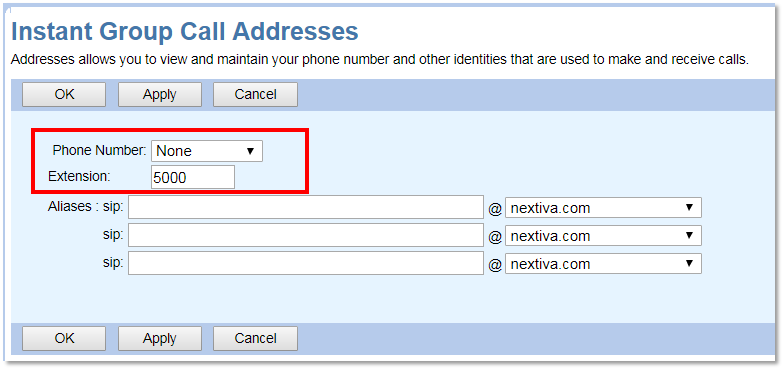
- After creating the Instant Group Call you will need to specify an extension or phone number to activate this feature. Click the new Instant Group Call > Addresses under the Basic column.
- Select the drop-down next to Phone Number to assign a direct phone number (if available). Enter an extension if not automatically populated by assigning a direct phone number. Select OK.
Number Selection and Extension Configuration
