Live chat enables businesses to engage in real-time conversations with customers and prospects directly from their website. Unlike traditional methods such as phone calls or emails, live chat provides customers with a convenient way to interact with the business through an online channel.
Adding live chat to your website
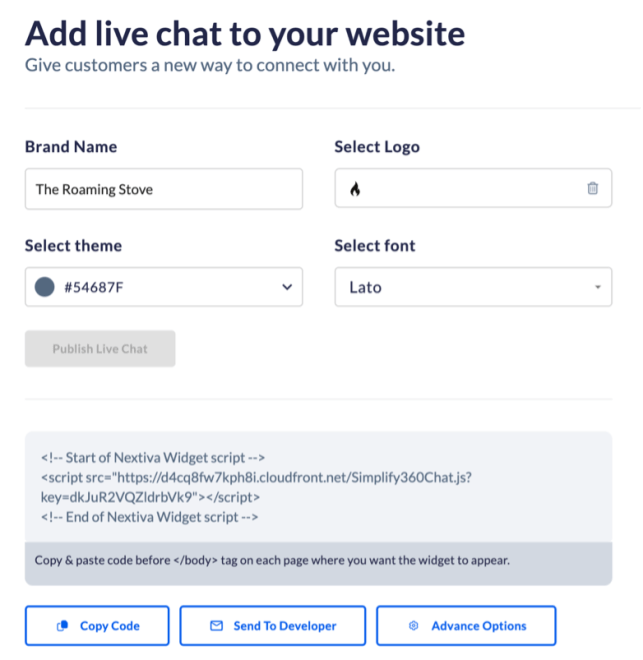
Once the Live Chat settings have been configured, you can insert the chat on your website. Simply copy and paste the code onto each page where you want the Live Chat to appear.
NOTE: Inserting the code into the website differs depending on the website being used. For example, WordPress has a Nextiva plug-in.
Copy Code: Ensure the code is copied accurately to avoid errors.
Send to Developer: Send the code directly to your developer so they can upload the code. When selecting Send to Developer, a popup will appear requesting the email of the person to whom the code should be sent.
Advanced Options: Additional Live Chat settings that can be implemented into Live Chat.
- General: Manage your brand name and logo.
- Appearance: Customize the chat window to match your brand. Choose left or right hanging placements, theme colors, button sizes, and fonts.
- Getting Started: Enter a message to display in the chat widget. Example: “Hello, how can we help you today?”
- Pre-Chat Questionnaire: This can be used to collect information before Live Chat begins. You can set up questions to capture lead contact info or to identify the customer in advance of the conversation. For more information, click here.
- Post Chat Survey: Embed the CSAT or NPS survey to populate once the chat has been completed. For more information, click here.
- Offline: Live Chat is available 24/7 unless business hours are enabled.
- Preferred Channels: Choose your preferred conversation channel beyond just the website chat. This could include messaging apps, SMS, and more.
- Installation: Instructions on how to add live chat to your website.
- Settings: Enable/disable user session history, notifications, chat transcripts, attachment options, and more.
- ChatBot: Enable the Chatbot into Live Chat.
For instructions on how to add live chat to GoDaddy, Square Space, Wix, or WordPress, click here.
For instructions on how to respond to live chats, click here.