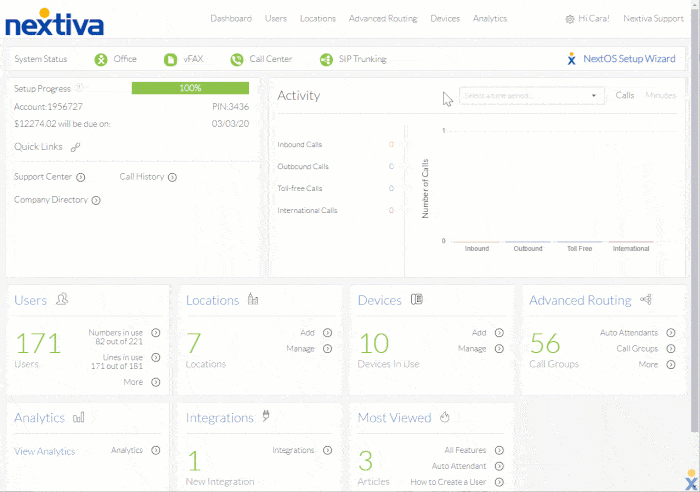
Adding a Device to an Account and Assigning It to a User
- Visit www.nextiva.com, and click Client Login to log in to NextOS.
- From the NextOS Home Page, select Voice.
- From the Nextiva Voice Admin Dashboard, hover over Devices at the top of the screen and select Add Devices.
- From the Select Model drop-down list, select the model of the device to add. If the desired model is not listed, select Generic SIP Phone.
TIP: Import multiple devices (up to 100) to an account at one time by using the Import Multiple Devices option. For more information, click here.
- Enter the MAC address of the device. The MAC address is located either on the back or on the menu of the device, usually under a Status heading.
TIP: Hover over the phone graphic to the right to see where the MAC address is located. (Not available for all models)
- Click Assign to provision the device and display additional fields for assigning the device to a User.
- Assign the device to a User.
- Choose a User from the drop-down list.
- Select the Change Password checkbox.
- Click both Generate buttons to generate new authentication details.
- Click Finish.