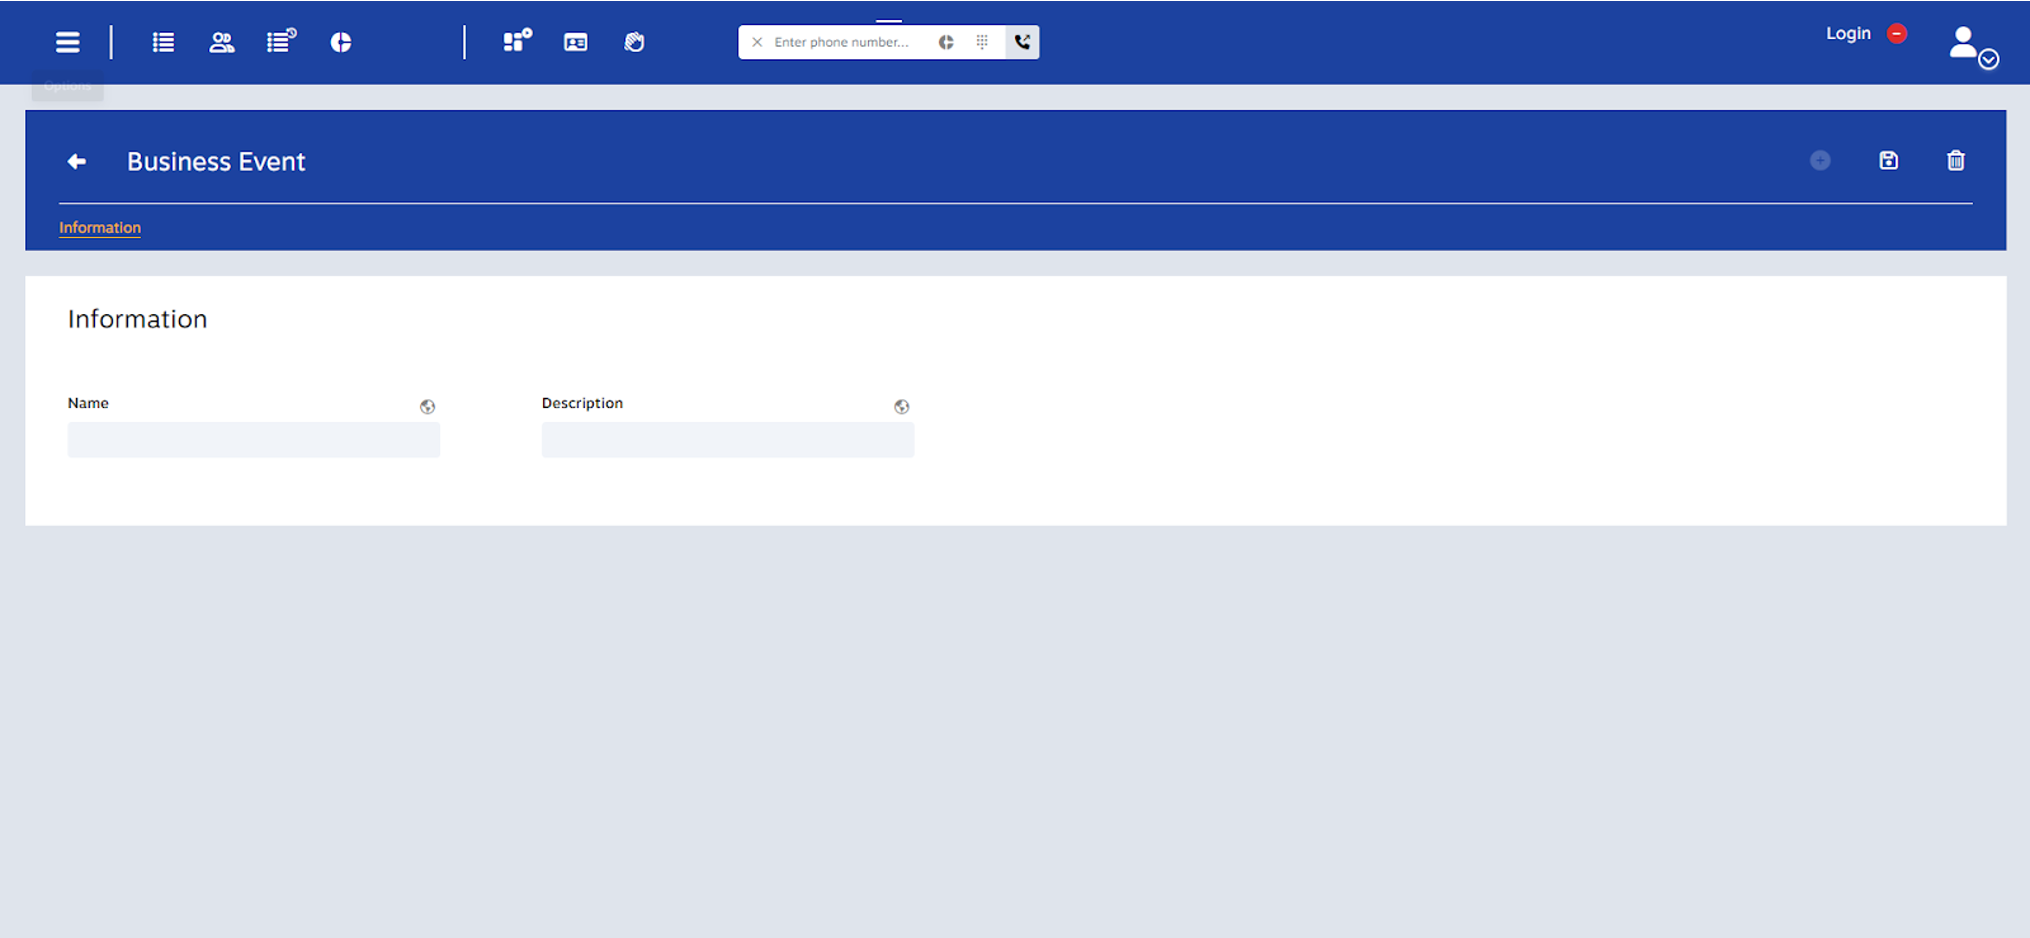
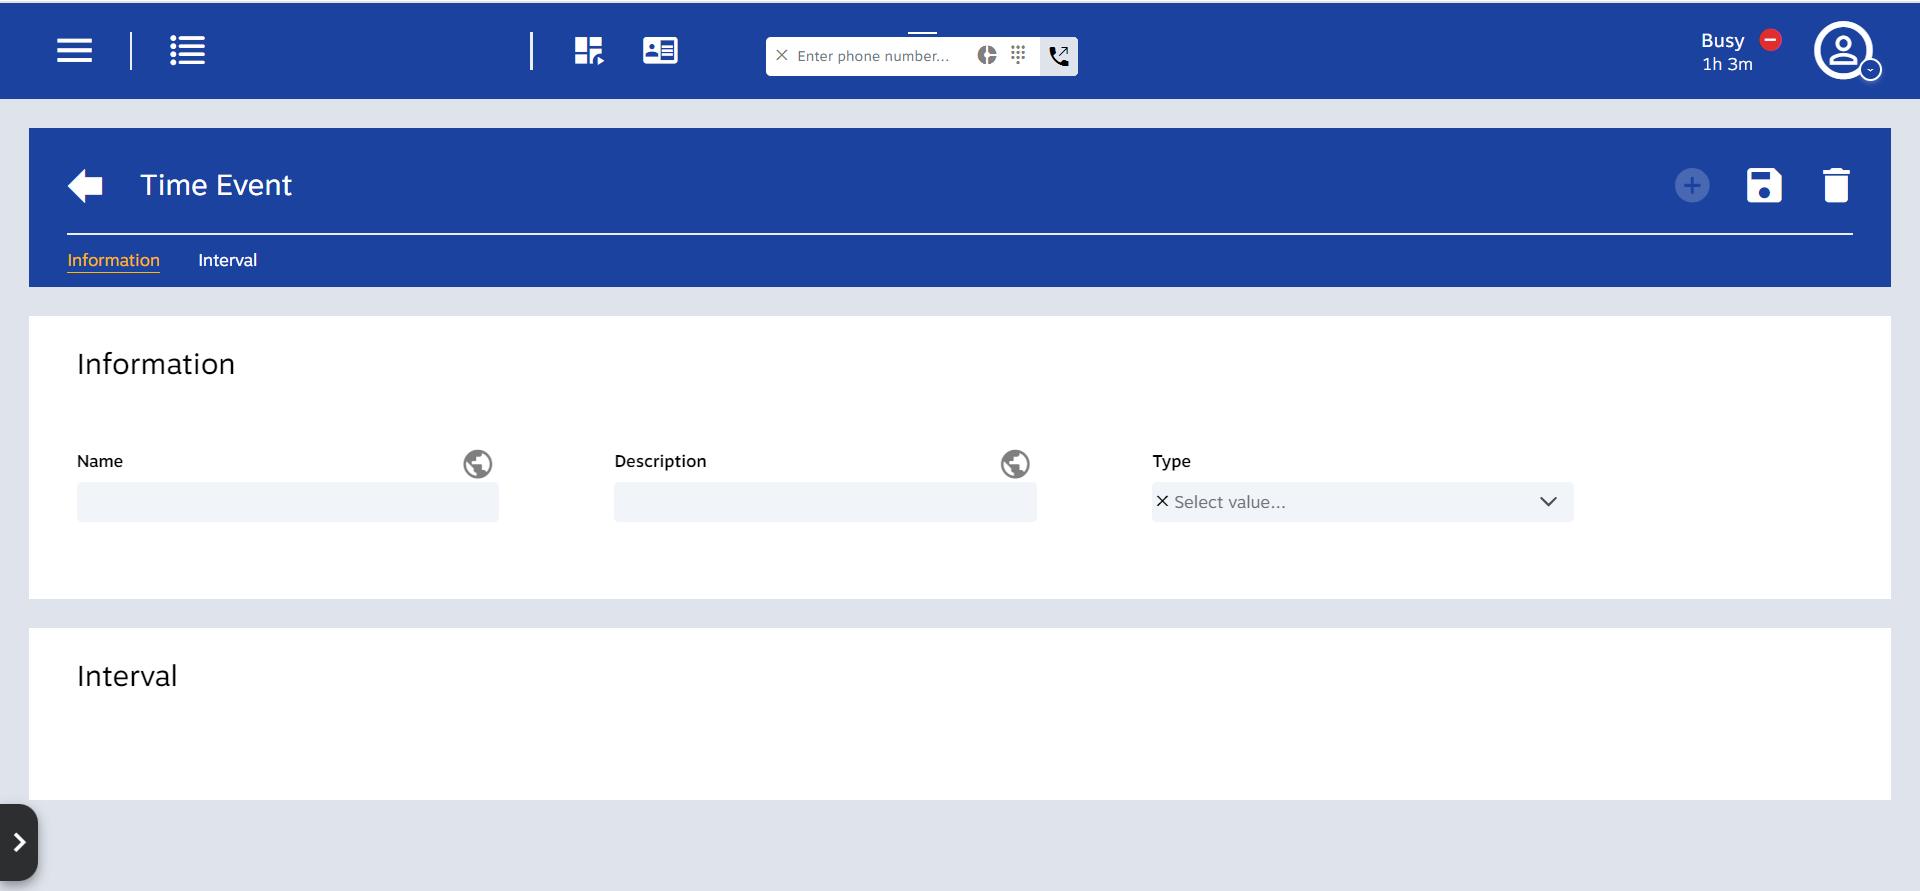
Business Events serve as folders containing multiple time events, allowing for a single logical check. They can be used in workflows, scheduled reports, and various other events.
Creating a Business Event
Search for the Business Event icon on the options menu. Click Plus (+) and enter a name and description. Click Save when done.

To add Time Events, click Plus (+) under the Time Event tab. Select all the time events that should be assigned to this Business Event. Click Save when done.

NOTE: It is best practice to avoid using multiple events in multiple places but to have separate business events with the same time events instead.
Modifying a Business Event
Click on any Business Event to edit. The system automatically saves the changes.