Managing extensions for users

.chooseScreenMost { display: flex; flex-wrap: nowrap; gap: 15px; }
.chooseScreenMost > div{width: 50%;}
.chooseScreenMost.topChoice > div:nth-of-type(1){width: 49.3%;}
.chooseScreenMost.topChoice > div:nth-of-type(2){width: 50.7%;}
.chooseScreenMost div img{ width: 100%; }
.chooseScreenMost div a br{ display: none;}
.hkb-article__content img { border-radius: 0;box-shadow: none!important; border: none;}
.chooseFlexCenter {align-items: center;}
@media only screen and (max-width:767px){
.chooseScreenMost { display: flex; flex-wrap: wrap; }
.chooseScreenMost > div, .chooseScreenMost.topChoice > div:nth-of-type(1), .chooseScreenMost.topChoice > div:nth-of-type(2){ width: 100%; max-width: 567px;}
}

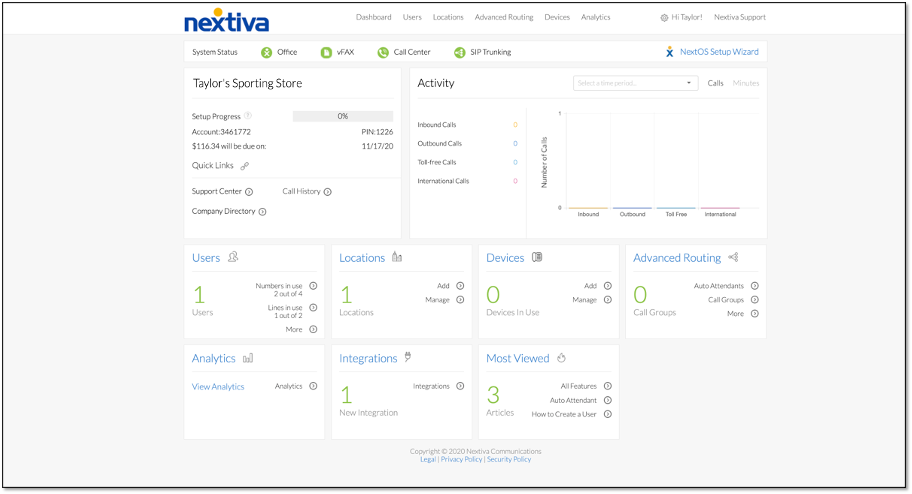
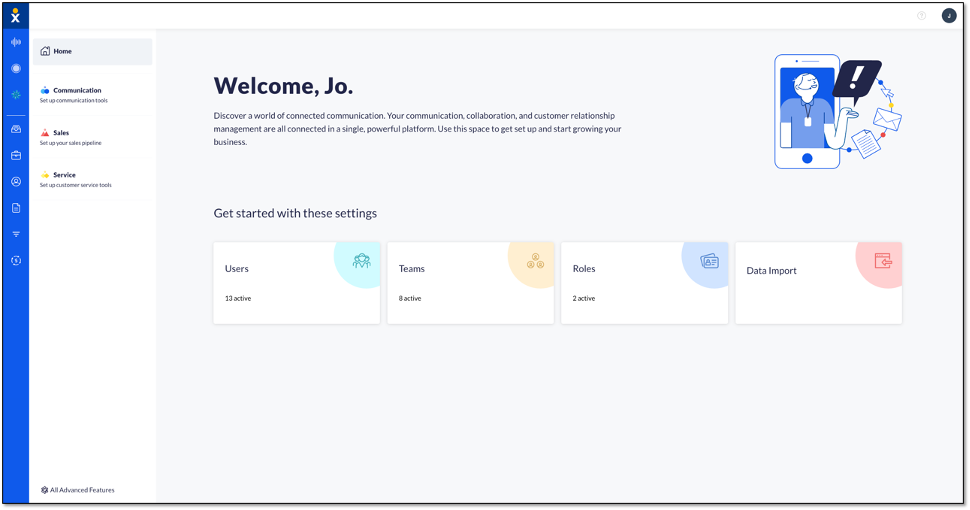
Choose the image that looks most like your screen once logged in.

Screen Voice Admin
Screen Home Page

Nextiva phones do not require a direct dial phone number for each user, however, each user is required to have an extension assigned in order to make and receive calls. 

From the Nextiva Voice Admin Dashboard, hover your cursor over Users Manage Users.

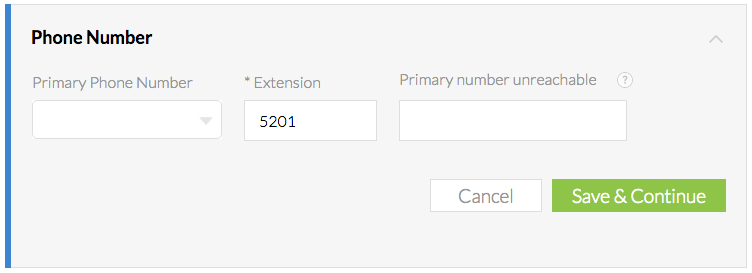
Hover over the user and click the pencil icon to the right > Phone number > update or enter the user’s extension > Save

Nextiva Edit Phone Number

Phone Number and Extension

Need additional help? Click here.

Was this article helpful?