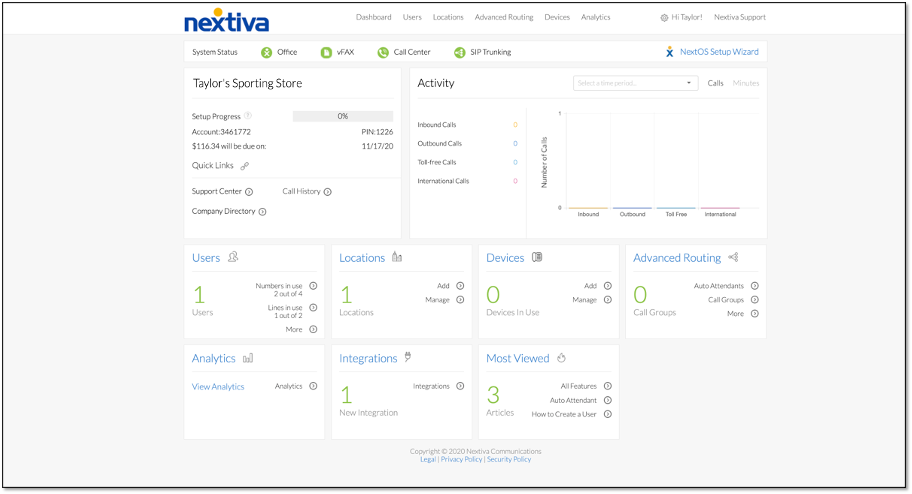
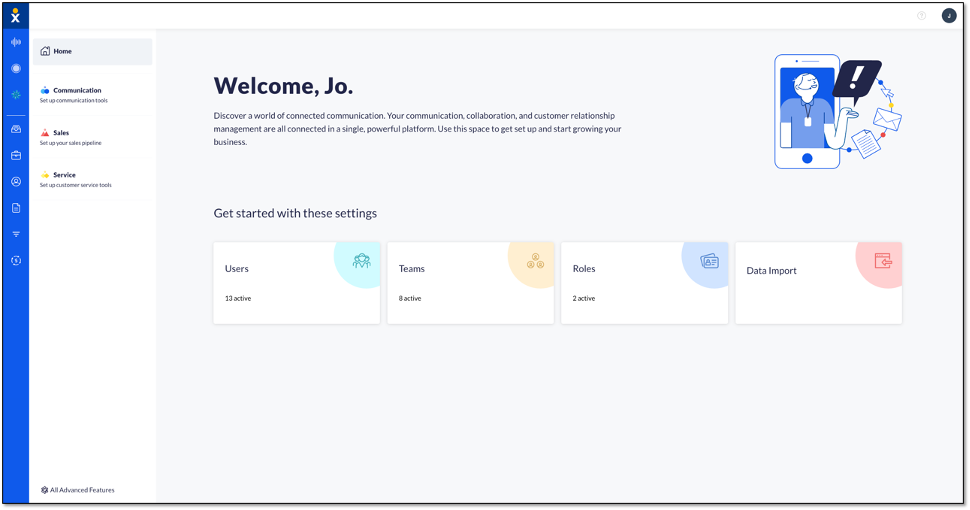
Choose the image that looks most like your screen once logged in.
Setting up Nextiva Anywhere
An Anywhere dial-in must be set up on the location to enable your users to make outbound calls from their device. For instructions, click here.
From the NextOS admin home page, select Users > Actions > Voice Settings > Mobility > Nextiva Anywhere.
Enter a description and the phone number(s) to forward calls to during a specified schedule.
You can also choose conditions for specific phone numbers, including any private or unavailable numbers.
Making outbound calls using Nextiva Anywhere
From the number you set up to receive Nextiva Anywhere calls on, dial the number you assigned to Nextiva Anywhere and enter the passcode. The default passcode is 0000.
When prompted, enter the number you want to call. Your outbound caller ID will appear the same as your business phone number.
Related Articles
Setting up Nextiva Anywhere
An Anywhere dial-in must be set up on the location to enable your users to make outbound calls from their device. For instructions, click here.
From the Nextiva voice admin dashboard, hover over Users > Manage Users > select the user > Mobility > Nextiva Anywhere.
Click Plus (+) and enter a description and the phone number(s) to forward calls to during a specified schedule.
Enable Answer confirmation so unanswered calls route to an appropriate destination, such as your Nextiva voicemail and not your personal voicemail.
Making outbound calls using Nextiva Anywhere
From the number you set up to receive Nextiva Anywhere calls on, dial the number you assigned to Nextiva Anywhere and enter the passcode. The default passcode is 0000.
When prompted, enter the number you want to call. Your outbound caller ID will appear the same as your business phone number.

