Automatically send calls to the users voicemail based on a specified schedule and phone number(s).
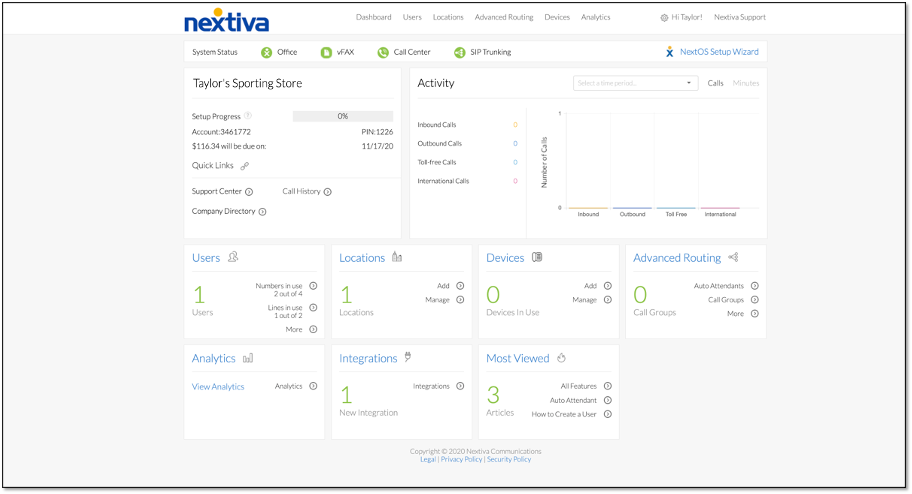
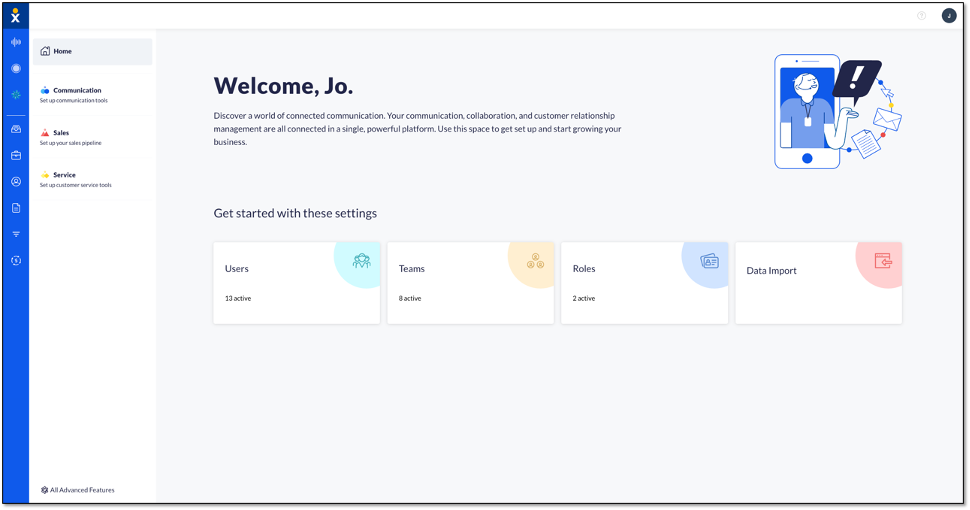
Choose the image that looks most like your screen once logged in.
Setting up selective call rejection
From the NextOS admin home page, select Users > Actions > Voice Settings > Call Routing > Selective call rejection.
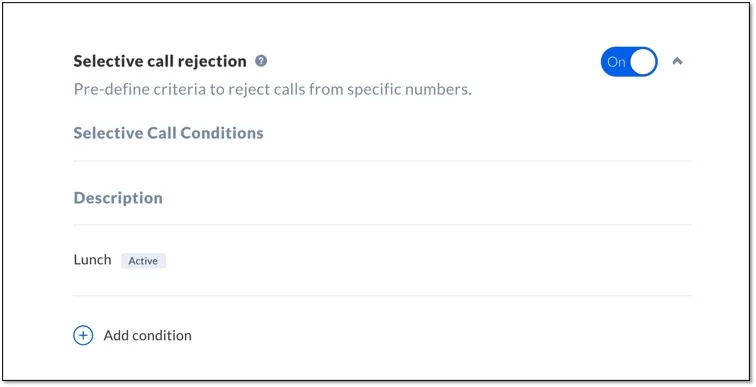
Enter a description and choose a schedule to activate the user’s selective call rejection.
You can also choose conditions for specific phone numbers, including any private or unavailable numbers.
Related Articles
Setting up selective call rejection
From the Nextiva voice admin dashboard, hover over Users > Manage Users > select the user > Routing > Selective Call Rejection.
Click the plus (+) icon to add a condition. Enter a description and choose a schedule to activate the user’s selective call rejection.
You can also choose conditions for specific phone numbers, including any private or unavailable numbers.