Nextiva Call Center: Business Events

Nexiva Call Center offers a range of scheduling options, allowing users to customize their schedules to meet specific needs. Business Events serve as folders containing multiple time events. For example, you could have a business event for location A and a business event for location B that either has the same or unique time events assigned to them. 

Creating a Business Event
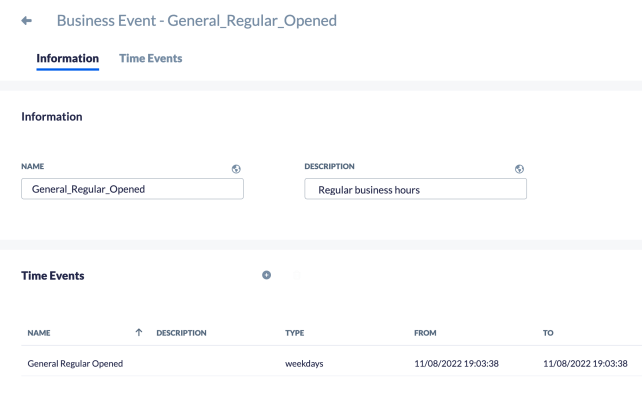
  1. Search for the Business Event icon on the options menu.
  2. Click Plus (+) and enter a name and description.
  3. Click Save when done.
  4. To add Time Events, click Plus (+) under the Time Event tab.
  5. Select all the time events that should be assigned to this Business Event. For instructions on how to create time events, click here
  6. Click Save when done.

NOTE: It is best practice to avoid using the same business event in multiple places. Instead, we recommend creating unique business events based on use cases and assigning the appropriate time events as required.


Need additional help? Click here.

Was this article helpful?