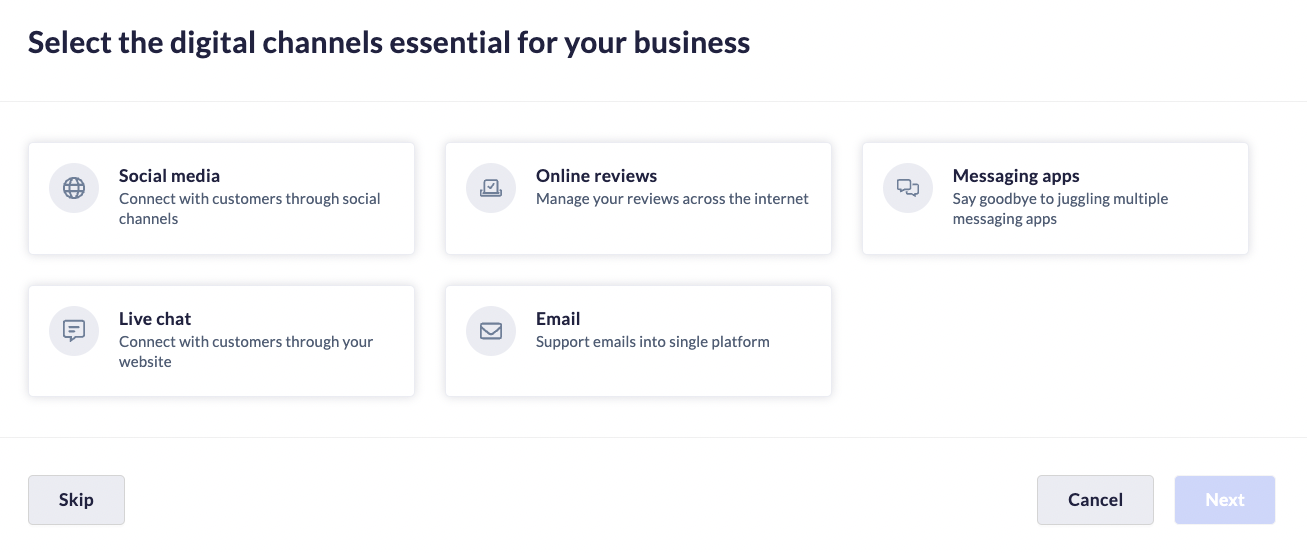
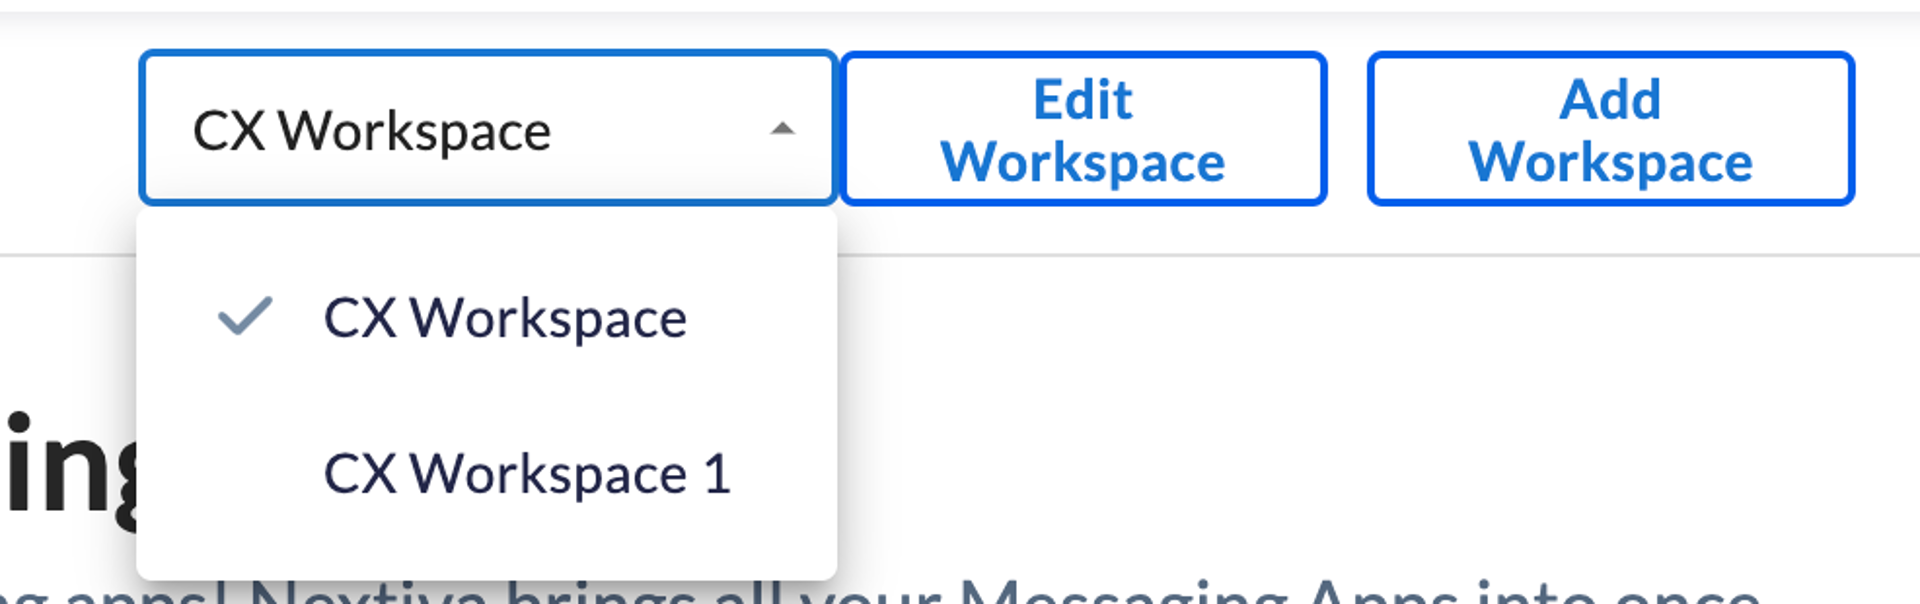
A workspace is a dedicated environment you can create to consolidate specific workstreams. Within a Workspace, you can connect social channels, review channels, messaging apps, emails, chat, and build chatbots. You can have multiple Workspaces and assign users to specific Workspaces.
Workspaces help filter the incoming interactions in the Unibox. Since all interactions from all connected channels enter the Unibox, having different Workspaces helps manage which interactions are displayed at one time.
For example, a business could use one Workspace for their Live Chat interactions and another for their Facebook chat interactions. The business could then assign specific users to the live chat Workspace and other users to the Facebook chat Workspace so dedicated employees can respond to the different types of interactions.
Visit nextiva.com, and click Login at the top. Select Sign in to NextivaCX. Enter your Nextiva username and password and click Sign In. If you forgot your username or password, click here.